Integrating Microsoft Teams with Ruddr provides the benefits outlined in the Microsoft Teams Integration Overview article. Before following the steps below, a Microsoft 365 administrator installs Ruddr for your organization and a Workspace Admin connects the organization to your workspace, as described in the Microsoft 365 Integration Setup article. There are three steps to follow:
  1. Link Members
  2. Specify Notifications for your Workspace
  3. Choose Project Channels
Each member needs their Microsoft Teams account linked to their Ruddr member account before they can track time or receive notifications in Microsoft Teams. When a member sends the Ruddr app a message, Ruddr links them automatically if the email address or user name of their Microsoft Teams account matches their email address in Ruddr. Otherwise, and always for guest accounts, the member links their account with a one-time link:
  1. The Ruddr app replies with a Welcome to Ruddr card. Click Link your Ruddr account (Figure 1). Like the connect link, it works once and expires after 15 minutes.
  2. The link opens Ruddr, where you sign in if you aren’t already. Choose the workspace and click Link (Figure 2). The list only includes workspaces your account isn’t linked to yet.
  3. Ruddr confirms that your Microsoft Teams account is linked to the workspace (Figure 3). Click Go to Ruddr to open the workspace, or close the tab and start tracking time in Microsoft Teams.
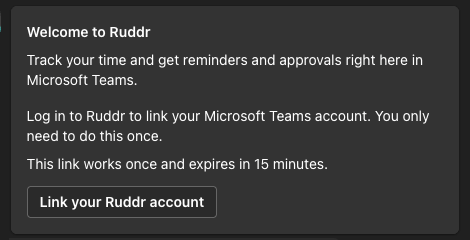
Figure 1 - The Link your Ruddr account Card in Microsoft Teams
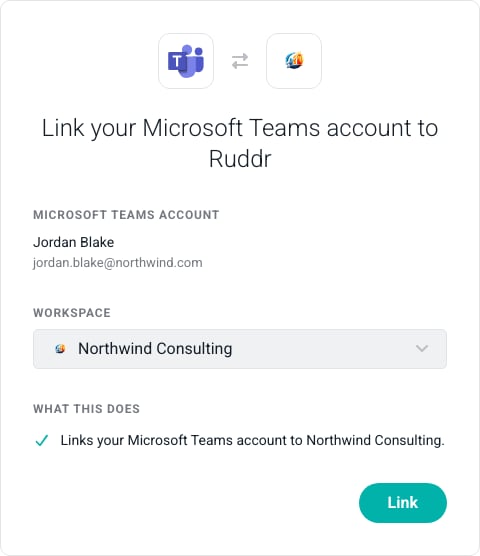
Figure 2 - Link a Microsoft Teams Account to Ruddr
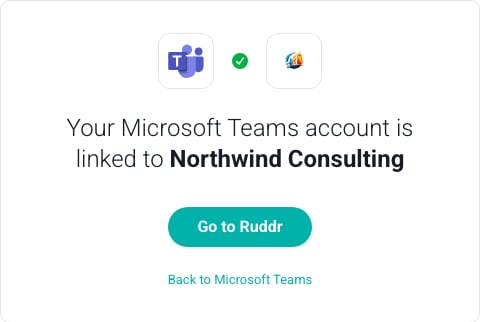
Figure 3 - The Microsoft Teams Account is Linked to the Workspace

Members only need to do this once. A Microsoft 365 organization can also connect to more than one Ruddr workspace. If you are a Workspace Admin of a workspace that isn’t connected to your organization yet, the link page lists it as not connected yet. Linking your account there also connects the workspace to your organization, so its other members can then link their own accounts. A member who is already linked can type link in their personal chat with the Ruddr app to link another workspace. A member linked to more than one workspace chooses which one to use in Microsoft Teams, and can type switch to change it. A member can type unlink in their personal chat with the Ruddr app to unlink their account. If they are linked to more than one workspace, the Ruddr app asks which one to unlink. After that, Ruddr doesn’t link them automatically again. The next time they message the Ruddr app, it sends a new Link your Ruddr account button. To check whether a member is linked, open their details in Settings > Members. A Microsoft Teams icon next to their name means they are linked; hover over it to see the Microsoft account, for example This member is linked to Microsoft Teams as jane@contoso.com.

Step 2: Specify the Notifications for your Workspace

Once an organization is connected, Microsoft 365 appears in the Active Integrations section of the Integrations area under Settings. Click the Settings button on the Microsoft 365 integration widget (Figure 4) to open the Microsoft 365 settings page.
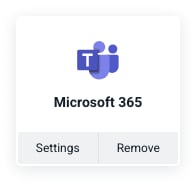
Figure 4 - The Microsoft 365 Integration in Active Integrations
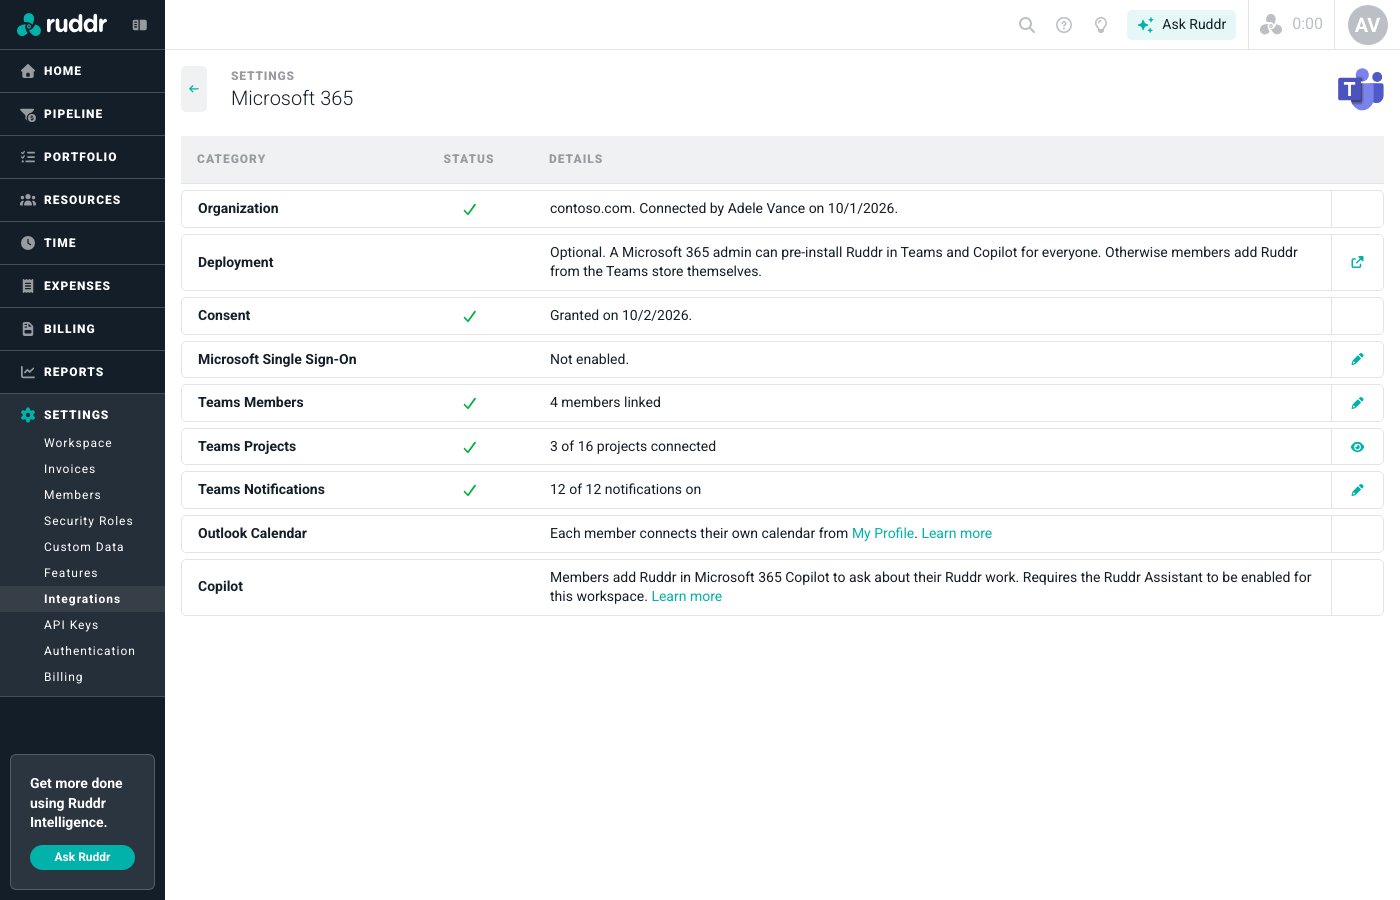
The page lists one row per area (Figure 5). The Organization row shows your organization’s domain, who connected it, and when. The Teams Projects row shows how many projects have a channel selected, such as 3 of 16 projects connected; click the view icon to see a read-only list of the connected projects and their channels. The Microsoft Single Sign-On row lets members sign in to Ruddr with their Microsoft account, as described in Microsoft Single Sign-On.

Figure 5 - The Microsoft 365 Settings Page
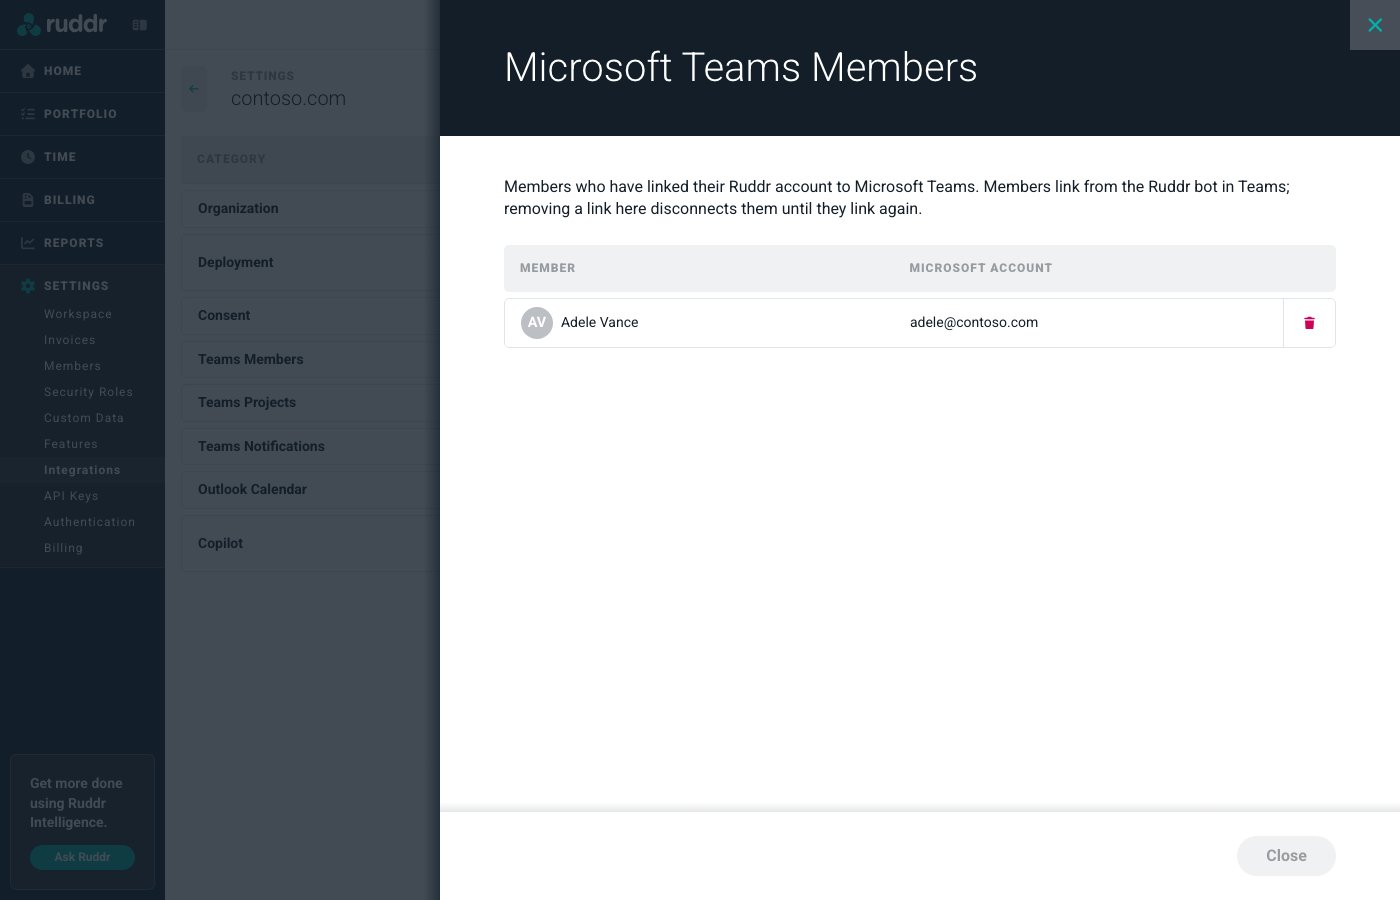
The Teams Members row shows how many members have linked their account. Click the edit icon to open a drawer that lists only the linked members, each with their Microsoft account (Figure 6). To remove a member’s link, click the trash icon next to their name and confirm. The next time that member messages the Ruddr app, it replies with a new Link your Ruddr account button.

Figure 6 - Linked Members of the Microsoft 365 Integration
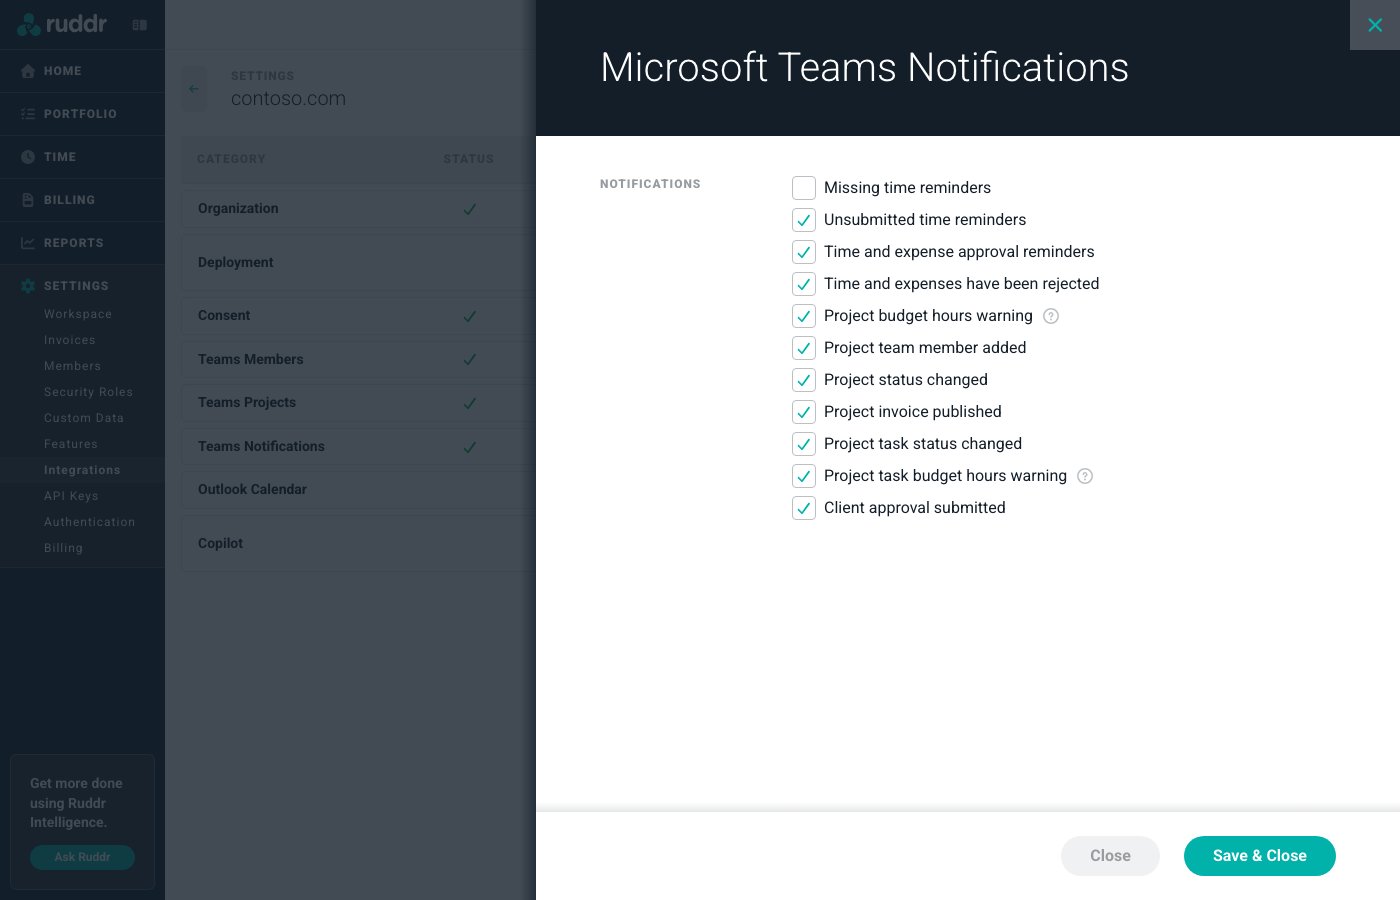
The Teams Notifications row shows how many notifications are on. Click the edit icon to open the notifications drawer (Figure 7) and choose which notifications are sent to members and project channels. Checking the box next to a notification enables it. Once the notifications have been selected, click Save & Close to apply the settings. Approval notifications also require the Send time and expense approval notifications option in the workspace’s General settings, as they do for email and Slack.

Figure 7 - Enable or Disable Microsoft Teams Notifications for the Workspace

Step 3: Choose Project Channels

To post project updates to Microsoft Teams, first add the Ruddr app to the team that contains the channel. Then, in Ruddr, open the project’s Settings tab, select Microsoft Teams under Overview, choose the channel in the Project Microsoft Teams Channel box, and click Save. The box only lists channels in teams where the Ruddr app has been added. See Project Channel Alerts for the updates Ruddr posts. Ruddr can post to standard channels only. Private and shared channels are not supported.

Removing the Integration

Removing the Microsoft 365 integration disconnects your organization and removes the Microsoft Teams settings, project channels, and every member’s link. See Removing the Integration in the Microsoft 365 Integration Setup article. For more information about the Ruddr app for Microsoft Teams, see the Microsoft Teams Integration Overview article.