

- Install from Ruddr: a Workspace Admin signs in with their Microsoft work account. This is the usual way.
- Install from Microsoft Marketplace: a Microsoft 365 administrator deploys Ruddr to the organization first, then a Workspace Admin connects.
Install from Ruddr
- Navigate to the Integrations area under Settings and click Install on the Microsoft 365 widget (Figure 1).
- Sign in with your Microsoft work account. Choose an account that belongs to the organization you want to connect; personal Microsoft accounts and guest accounts are refused. The first time, Microsoft asks you to accept Ruddr’s sign-in permissions (your name, email and organization).
- Ruddr returns you to the Integrations area, where Microsoft 365 now appears in Active Integrations (Figure 2).
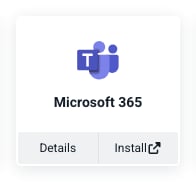
Figure 1 - The Microsoft 365 Widget in Available Integrations
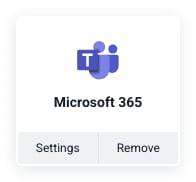
Figure 2 - The Microsoft 365 Integration in Active Integrations
If Microsoft shows Approval required when you sign in, your organization restricts which apps users can consent to. Ask a Microsoft 365 administrator to grant consent for the organization, as described under Optional Steps for Microsoft 365 Administrators, and try again.
Install from Microsoft Marketplace
A Microsoft 365 administrator can deploy Ruddr to the organization first, so Ruddr is pre-installed in Teams and Copilot for the people they choose:- Sign in to Microsoft 365 as an administrator, open the Ruddr listing in Microsoft Marketplace, and select Get it now (Figure 3).
- Confirm your details and select Get it now in the dialog (Figure 4). Marketplace takes you to the Microsoft 365 admin center, where the Deploy New App panel opens with Ruddr in it.
- Select Next, then choose who gets Ruddr under Assign users: Just me, All users, or Specific users or groups (Figure 5).
- Select Next, review the settings, and select Finish deployment. The panel reports Deployment completed (Figure 6).
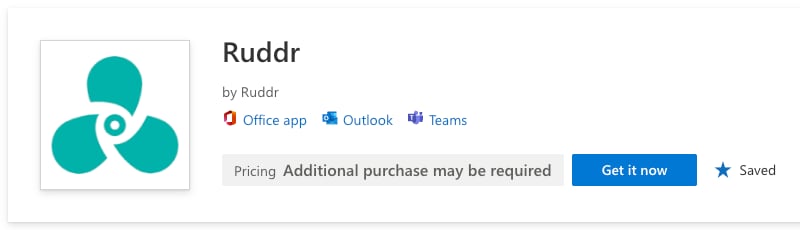
Figure 3 - Get Ruddr from Microsoft Marketplace
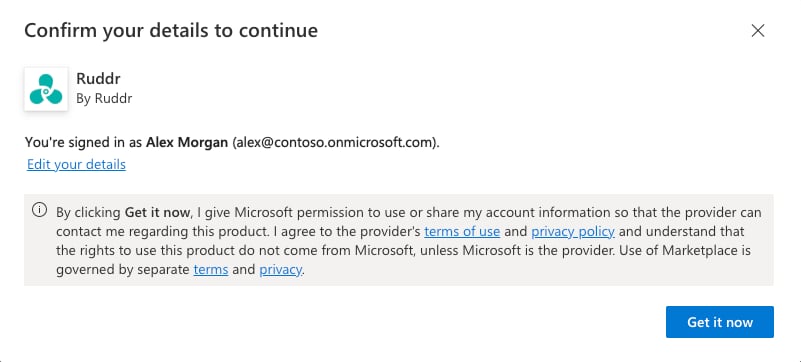
Figure 4 - Confirm Your Details to Continue
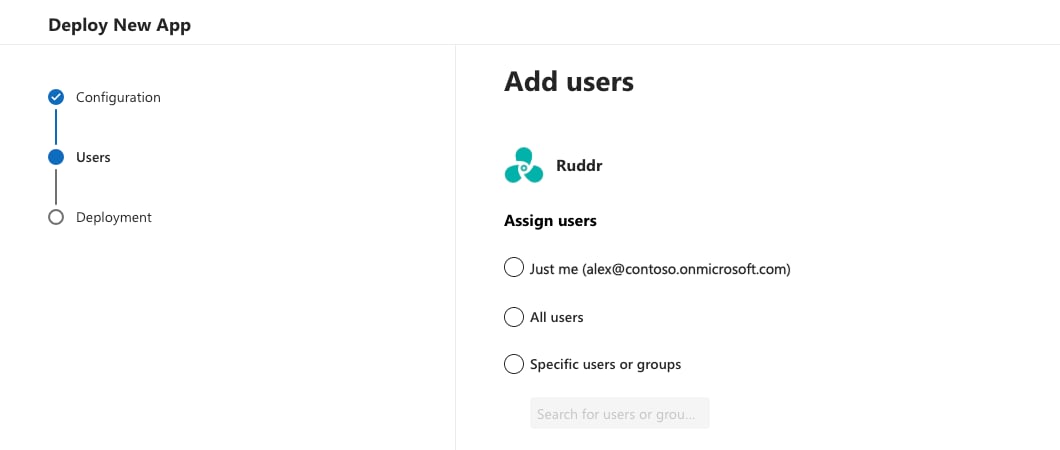
Figure 5 - Choose Who Gets Ruddr
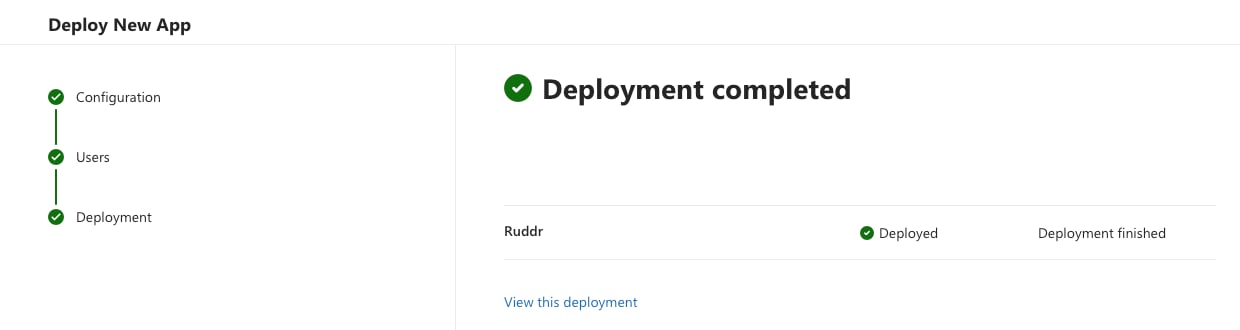
Figure 6 - The Ruddr Deployment Completed
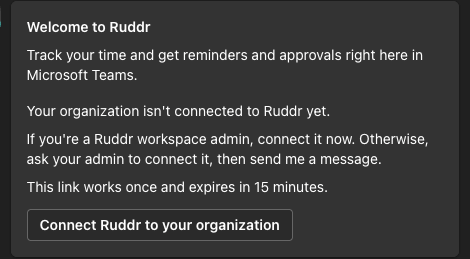
Figure 7 - The Connect Ruddr to your organization Card in Microsoft Teams
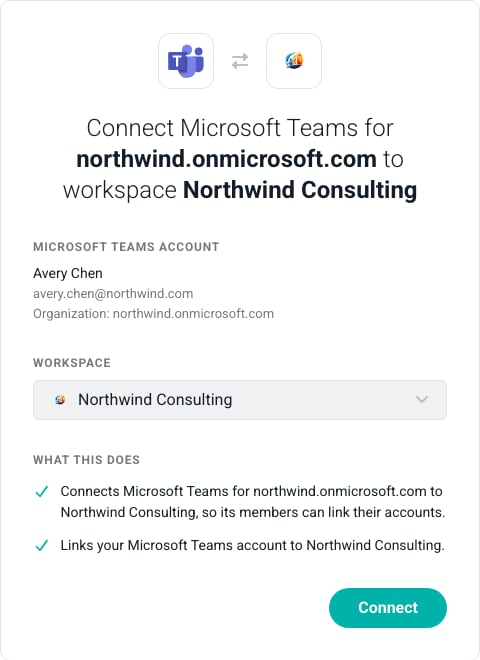
Figure 8 - Connect your Microsoft 365 Organization to a Ruddr Workspace
Optional Steps for Microsoft 365 Administrators
Once connected, click Settings on the Microsoft 365 widget to open the Microsoft 365 settings page. The page lists one row per area, each with a status and details: Organization (your organization’s domain, who connected it and when), Deployment, Consent, Microsoft Single Sign-On, Teams Members, Teams Projects, Teams Notifications, Outlook Calendar, and Copilot (Figure 9). Two rows hold optional actions that need a Microsoft 365 administrator:- Deployment: the external-link icon opens the Ruddr listing in Microsoft Marketplace in a new tab, for the deployment described above. Without it, members add Ruddr from the Teams app store themselves. It is required only in organizations that block third-party apps in Teams.
- Consent: the shield icon sends the administrator to Microsoft to approve Ruddr’s permissions once for everyone: sign-in, and read-only access to each member’s own calendar. After that, members don’t see a consent prompt when they connect their calendar, and the row shows the date consent was granted in place of the action.
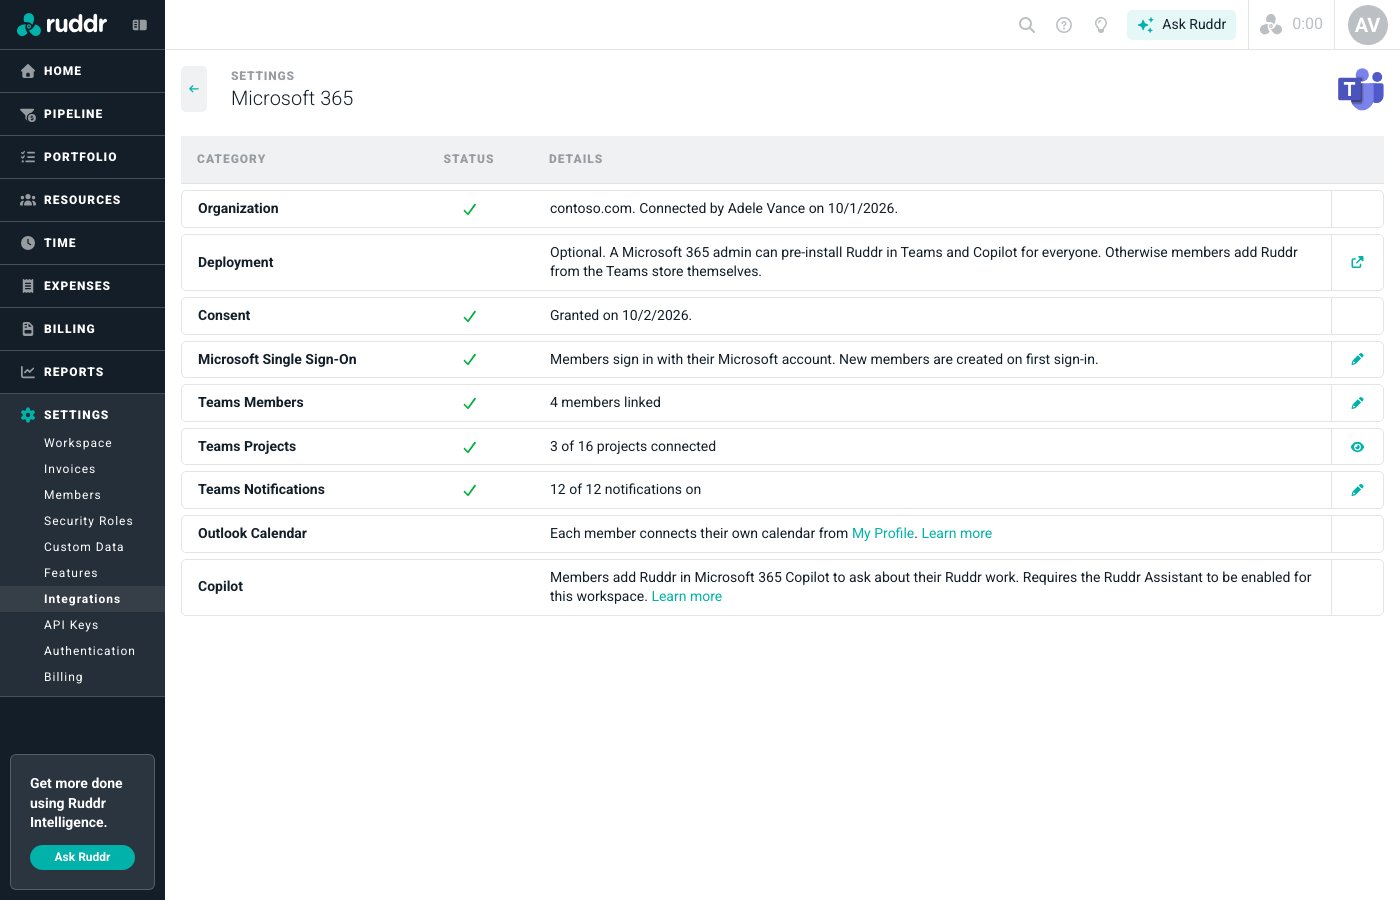
Figure 9 - The Microsoft 365 Settings Page
Microsoft Single Sign-On
Microsoft Single Sign-On lets members sign in to Ruddr with their Microsoft account from the connected organization. It runs on the Microsoft 365 connection alone, with nothing to set up in Microsoft Entra. Once enabled, it appears under Settings > Authentication as the Microsoft 365 provider. It is separate from the Microsoft Entra ID provider, which uses SAML and is set up as described in Identity Provider Setup. To turn it on:- On the Microsoft 365 settings page, click the edit icon on the Microsoft Single Sign-On row (Figure 10).
- Select Enable Microsoft Single Sign-On (Figure 11).
- Optionally, select Make it the default sign-in method to make it the workspace’s default authentication provider.
- Optionally, select Create members on first sign-in so that someone from your organization who isn’t a member yet gets a Ruddr account the first time they sign in. Then choose the Security Role for new members, which is required. You can also choose a Member Template for the rest of the new member’s settings; picking a template fills in its security role, which you can change. New members created this way use Microsoft Single Sign-On as their sign-in method.
- Click Save & Close. The row now shows a check mark and the options you chose.
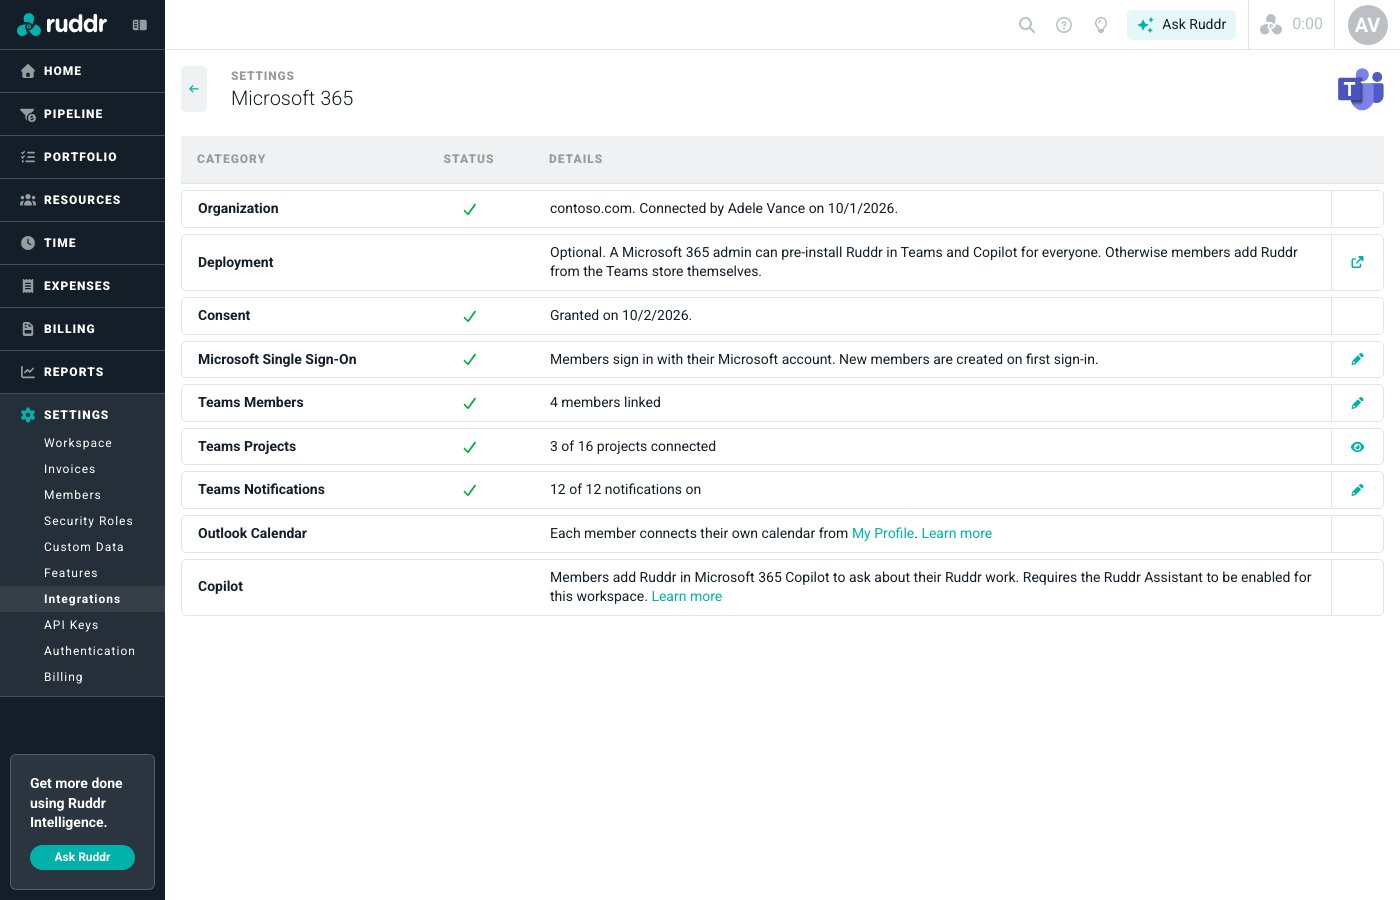
Figure 10 - Microsoft Single Sign-On Enabled on the Microsoft 365 Settings Page
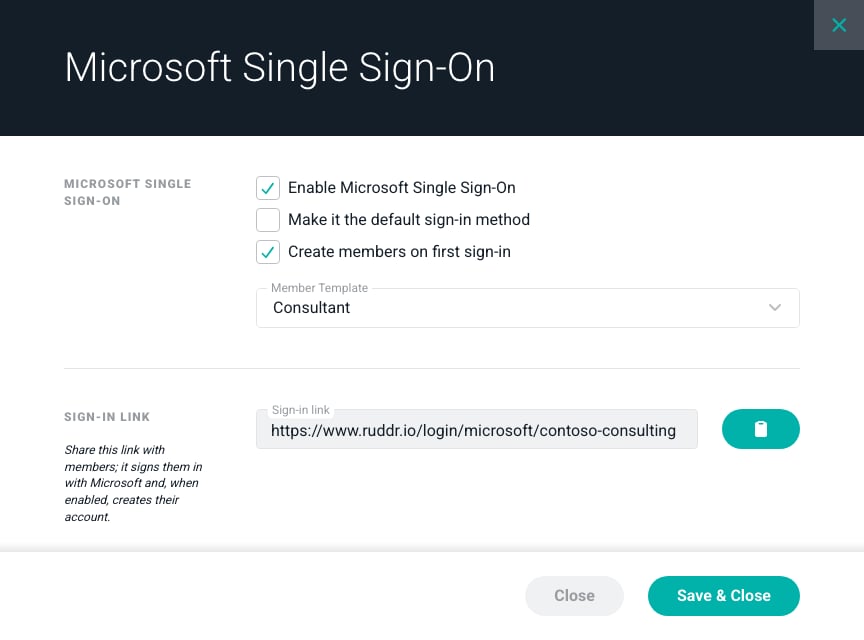
Figure 11 - The Microsoft Single Sign-On Drawer
The Sign-in Link
Once Microsoft Single Sign-On is enabled, the drawer shows your workspace’s sign-in link, in the formhttps://www.ruddr.io/login/microsoft/<workspace key>, with a button to copy it (Figure 11). Share it with your members. The link opens a page with your workspace’s name and logo, where a member clicks Sign in with Microsoft (Figure 12). A member who is already signed in goes straight into the workspace.
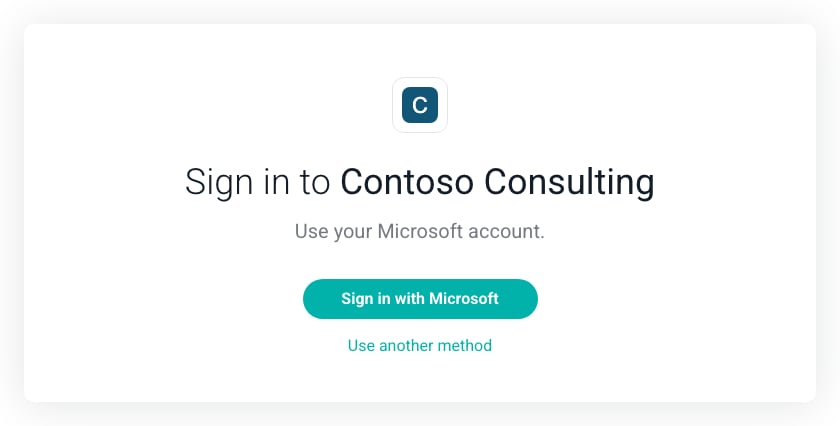
Figure 12 - Sign in to the Workspace with Microsoft
How Members Are Matched
Ruddr matches the Microsoft account to a member in this order:- The Microsoft account the member already linked through Microsoft Teams or the Outlook calendar.
- The member’s email address.
Turning It Off
To turn Microsoft Single Sign-On off, open the drawer, clear Enable Microsoft Single Sign-On, and click Save & Close. If it was the default sign-in method, the password method becomes the default again. Members keep their Ruddr accounts. Removing the integration turns Microsoft Single Sign-On off too.What Each Offering Needs
Removing the Integration
To disconnect your organization, click the Remove button on the Microsoft 365 widget (Figure 2) and confirm (Figure 13). Removing the integration disconnects your Microsoft 365 organization and removes the Microsoft Teams settings, project channels, every member’s Microsoft Teams link, and every member’s calendar connection. It also turns off Microsoft Single Sign-On. Time entries are not affected. Members aren’t notified; the organization can be connected again at any time. Copilot connections are separate and are not affected.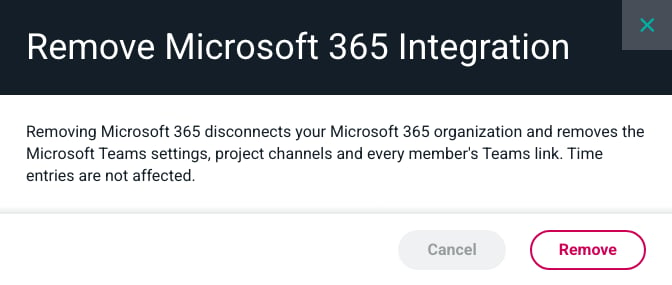
Figure 13 - Remove the Microsoft 365 Integration